

Table of Contents
- Why Phasing a Kitchen Remodel to Manage Budget Beats One Big Loan
- The Kitchen Remodel Sequence of Work: What Has to Happen First
- Kitchen Renovation Timeline Planning: Mapping Phases Across Months and Years
- Hiring a General Contractor for Phased Projects: What to Ask Before You Sign
- Where the Money Goes: Budget Allocation Across Each Phase
- Living Through a Phased Remodel: Dust, Noise, and Family Logistics
- Financing Phased Kitchen Projects: Loans, Equity, and Cash Flow
- Common Mistakes That Blow Up a Phased Kitchen Budget
- Frequently Asked Questions
Last Updated: October 4, 2026
Why Phasing a Kitchen Remodel to Manage Budget Beats One Big Loan
Phasing kitchen remodel work to manage budget means splitting the project into planned stages so you pay for each one as you go, instead of borrowing a single large sum upfront. According to DIY Depot USA’s 2026 kitchen remodel cost estimator, the national average kitchen remodel runs $26,940.
At KRB Development, we’ve managed residential and commercial renovations since 2005, and phasing is one of the most reliable ways homeowners stay in control. Spread the work across months or years, and each stage gets its own budget line.
Phasing also protects you from the biggest budget killer: surprises behind the walls. Open one section at a time, and an unexpected plumbing problem hits a contained budget instead of sinking the project.
The Kitchen Remodel Sequence of Work: What Has to Happen First
The kitchen remodel sequence of work follows a fixed order: structural and functional work first, then cabinetry and surfaces, then fixtures and finishes. Skip ahead and you’ll pay twice.
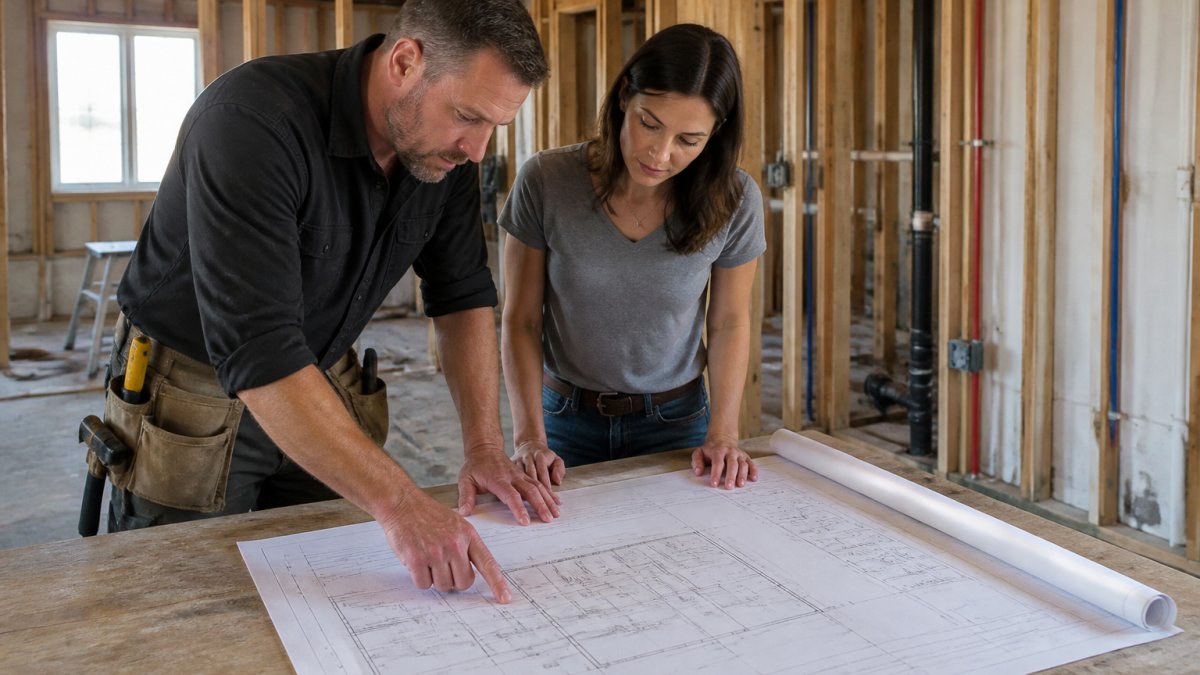
Plumbing and electrical lines run inside the walls, cabinets hang on those walls, and countertops sit on those cabinets.
Phase 1: Structural and Functional Work (Plumbing, Electrical, Layout)
Phase 1 covers everything hidden: plumbing relocation, electrical work, framing, and drywall. It’s the most disruptive stage and the hardest to redo.
The National Association of Realtors’ guidance on renovation costs notes that changing your existing layout significantly raises costs because plumbing and electrical lines must move. Keep the sink and stove where they are and you save real money.
What actually happens in this phase, in order:
- Demolition and haul-away. Cabinets, counters, flooring, and any wall sections coming out.
- Rough framing and structural changes. Any wall moves, beam additions, or window/door resizing.
- Rough plumbing. Supply and drain lines relocated and stubbed out for the sink, dishwasher, and refrigerator.
- Rough electrical. Circuits run for outlets, dedicated appliance lines, under-cabinet lighting, and any new switches.
- Inspection. Most jurisdictions require rough-in inspection before walls close. Do not skip this, it’s the cheapest insurance in the project.
- Insulation and drywall. Walls closed, taped, and primed.
Many homeowners pause here for months to save for Phase 2.
Phase 2: Cabinetry, Countertops, and Surfaces
Cabinets and counters come next, once walls are closed and painted. Cabinetry alone eats 30-40% of a typical budget, according to Lars Remodel’s 2026 budget allocation data.
Order of operations inside this phase:
- Cabinet layout finalized and ordered. Lead times on semi-custom cabinetry commonly run 6-10 weeks, so this order should be placed before Phase 1 finishes.
- Cabinet installation. Base cabinets first, then uppers, then any tall or pantry units.
- Template for countertops. The fabricator measures after cabinets are set, never before.
- Countertop fabrication and install. Natural stone and quartz typically add another 1-3 weeks between template and install.
- Sink and cooktop cutouts. Done by the counter fabricator, not the plumber.
This is the easiest phase to pause. A kitchen with cabinets and counters but no backsplash, new faucet, or appliances is fully functional, many homeowners live that way for a year or more while saving for Phase 3.
Phase 3: Fixtures, Appliances, and Finishing Touches
The final phase covers fixtures, appliances, backsplash, and paint, the easiest items to delay, since a kitchen works fine without a new faucet for months.
Order inside this phase:
- Backsplash tile. Installed after counters, before the final plumbing trim.
- Plumbing trim-out. Faucet, disposal, dishwasher hookup, and any pot filler.
- Appliance delivery and install. Schedule these together so the delivery window matches the trim-out.
- Electrical trim-out. Outlet covers, under-cabinet lighting, and any pendant or recessed fixtures.
- Paint and touch-ups. Last, after all trades have stopped banging around.
What Breaks If You Reorder Phases
A few reorderings that look harmless and aren’t:
- Counters before cabinets. The fabricator can’t template without a level cabinet base, so you’ll pay for a second template.
- Backsplash before counters. You’ll be cutting tile to fit an unknown counter edge.
- Appliances before electrical rough-in. The dedicated circuit may not exist, and you’ll be running new wire through finished walls.
Write the phase order on a single sheet of paper and tape it inside a cabinet door. Every trade that walks in should see it. The single biggest cause of rework in phased kitchens is a subcontractor who assumed a different sequence.
If you pause between phases, document the state of the project: photos of open walls, a list of what’s been inspected, and the name of the inspector. When work resumes months later, that record is what keeps the next trade from guessing.
Kitchen Renovation Timeline Planning: Mapping Phases Across Months and Years
Kitchen renovation timeline planning works best when each phase gets a realistic window, not a wishful one. A full gut remodel can take three to six months; a phased version stretches that across a year or more.
Here’s how we’d map a three-phase project:
| Phase | Typical Duration | Best Timing | Main Disruption |
|---|---|---|---|
| Phase 1: Structural | 3-6 weeks | Spring | Water and power shutoffs |
| Phase 2: Cabinets and counters | 2-4 weeks | Summer | Cabinet installation noise |
| Phase 3: Fixtures and finishes | 1-2 weeks | Fall | Minimal |
Industry guidance from City Kitchen and Bath’s phased remodeling recommendations supports distributing costs over time by handling structural and functional work before cosmetic upgrades.
Schedule Phase 1 for a season when you can grill outside or use a temporary kitchen setup. Losing your sink for three weeks in winter is far worse than losing it in June.
Hiring a General Contractor for Phased Projects: What to Ask Before You Sign
Hiring a general contractor for phased projects comes down to one question: will they still be around, and still care, in phase three? Phased work spans months, so you need a contractor built for the long haul.
Ask these before signing anything:
- How do you price a project split across multiple phases?
- Will the same project manager handle every phase?
- What happens if Phase 1 uncovers a problem that changes Phase 2?
A contractor who hesitates on any of these is telling you something. The difference between a smooth phased project and a nightmare comes down to communication and consistency.
Get a Free Project Estimate – Contact Us Today →
Signing a single fixed-price contract for a phased project locks in assumptions that may not survive Phase 1. Ask for phase-by-phase pricing instead, so surprises get handled inside the affected phase rather than blowing up the whole budget.
Where the Money Goes: Budget Allocation Across Each Phase
Budget allocation across each phase follows a predictable pattern, and knowing it helps you spot when a bid is unrealistic. Labor typically takes 25-35% of the total, according to Lars Remodel’s aggregate project data.
That contingency line is not optional. Lars Remodel’s budget guidance recommends setting aside 15% to 20% for unexpected costs. In phased work, it’s even more important, because each phase reveals something new.
Full remodels with custom cabinetry and premium materials can run $450 to $800+ per square foot, per Fin Home Contracting’s 2026 cost analysis. That range explains why so many homeowners choose to phase.
A 15-20% contingency fund isn’t padding. It’s the difference between pausing a phase and abandoning the project when something unexpected turns up behind the drywall.
Living Through a Phased Remodel: Dust, Noise, and Family Logistics
Living through a phased remodel is the part nobody warns you about properly. You’re managing dust, noise, and a family that still needs to eat dinner.
A few things that actually help:
- Set up a temporary kitchen with a microwave, mini fridge, and coffee maker
- Seal doorways with plastic sheeting and zip walls
- Agree on quiet hours with your contractor
The upside: disruption comes in waves, not one endless stretch, and you get normal life back between phases.
Financing Phased Kitchen Projects: Loans, Equity, and Cash Flow
Financing phased kitchen projects usually mixes cash flow with one of three options: a renovation loan, a home equity line, or savings. How money is released matters more than the headline rate.
- Cash flow: Pay for each phase from savings as you reach it. No interest, no debt, no draw schedule to manage.
- Home equity line of credit (HELOC): A revolving line against your home’s equity. You draw only what each phase needs, and interest accrues only on the drawn balance.
- Home equity loan or cash-out refinance: A lump sum at a fixed rate. Simpler to manage, but you start paying interest on the full amount immediately, even if Phase 3 is a year away.
The cash-flow approach pairs best with phasing kitchen remodel work. You fund Phase 1, save, then fund Phase 2. No interest piles up while you wait.
How Draw Schedules Actually Work
If you finance rather than pay cash, the lender doesn’t hand you the money upfront. It releases funds in draws tied to completed milestones.
A typical draw schedule for a phased kitchen might look like:
- Draw 1, at signing or demolition start. Covers permits, demolition, and initial materials.
- Draw 2, after rough-in inspection passes. Covers plumbing, electrical, and drywall.
- Draw 3, after cabinet and counter installation. Covers the largest material cost.
- Draw 4, at final inspection and punch list completion. Covers trim, fixtures, and final payments to trades.
Each draw usually requires a site inspection or a signed lien waiver from the trades on that phase. That paperwork protects the lender and you, it forces a paper trail on every phase.
Matching the Loan Type to Your Phase Plan
A few practical pairings:
- Two-phase project over 12 months, paying mostly cash: HELOC. Draw as you go, pay down between phases, and keep interest low.
- Three-phase project over 24 months, want fixed payments: Home equity loan. You’ll pay interest on the full amount from day one, but your payment never moves.
- Full gut with a contractor managing all phases back-to-back: Renovation loan. The draw schedule matches the construction schedule, and the lender’s inspections add a layer of accountability.
The Cost of Stretching a Project Over Time
Phasing saves on interest if you’re paying cash. It costs more if you’re financing, because:
- Interest accrues on the drawn balance for the entire project duration. A two-year phased project on a HELOC can cost meaningfully more in interest than a six-month project on the same line.
- Material prices can shift between phases. Lock in pricing on any phase you can order early.
- Labor rates rarely go down. A contractor who quotes Phase 3 today may quote higher when Phase 3 actually starts.
Rule of thumb: if the total interest cost of stretching the project exceeds the savings from phasing, compress the timeline or use a fixed-rate product instead.
Phasing is a cash-flow strategy, not a financing strategy. It works best when paired with a HELOC or pure savings, and it works worst when paired with a lump-sum loan that starts charging interest on money you won’t spend for a year.
Before signing any renovation loan, ask the lender to show you the draw schedule in writing. If the draws don’t line up with your phase plan, you’ll be fronting material costs out of pocket and waiting for reimbursement, which defeats the purpose of financing.
Common Mistakes That Blow Up a Phased Kitchen Budget
The biggest mistake in a phased kitchen budget is making changes mid-construction. Maize Restoration’s 2026 project data found that frequent changes during construction often lead to overruns and delays.
Other common errors:
- Skipping the contingency fund to save money now
- Changing the floor plan after Phase 1 is done
- Buying cabinets before plumbing is finalized
One more: treating phases as independent projects. They’re not. Phase 1 decisions lock in Phase 2 costs, so plan the whole sequence before you start.
Homeowners who want to stay in the house during renovation and spread costs over 12-24 months without taking on a large loan.
A phased kitchen remodel demands patience, planning, and a contractor who stays engaged from the first phase to the last.
Frequently Asked Questions
What is the most cost-effective way to phase a kitchen remodel?
Start with the work that requires opening walls and running new plumbing or electrical lines, because doing this later means paying twice for demolition and repair. Then move to cabinetry and countertops, and finish with appliances, fixtures, and cosmetic details. This order, sometimes called the kitchen remodel sequence of work, keeps each phase from undoing the one before it. It also lets you spread spending across months or years instead of financing the entire project at once.
How do I maintain kitchen functionality during a phased renovation?
Keep a temporary sink, refrigerator, and microwave station in an adjacent room or garage while the main kitchen is offline. Schedule the phases that cut off water or power during the shortest possible window, often a weekend or a few weekdays. A contractor experienced in phased projects can stage the work so your family still has a way to prepare meals. Expect some disruption, but a clear sequence and timeline planning reduce how long the kitchen is fully unusable.
What are the risks of phasing a kitchen remodel over several years?
The biggest risks are material discontinuation, rising labor costs, and design drift. Cabinets or tile you chose in phase one may be discontinued by phase three, forcing a redesign. Labor rates and material prices can climb between phases, so a project budgeted in 2026 may cost more when finished in 2028. Frequent changes during construction also lead to budget overruns and delays, according to industry data. Lock in key materials early and keep a 15% to 20% contingency fund for surprises.
How does a general contractor help manage a phased renovation project?
A general contractor coordinates subcontractors, orders materials in the right sequence, and keeps each phase from damaging completed work. They also handle permits and inspections, which is important when plumbing or electrical work is involved. For phased projects, the contractor builds a realistic timeline that matches your cash flow and flags which decisions must be made before each phase starts. This is where hiring a general contractor for phased projects pays off, since poor sequencing is the most common cause of cost overruns.